
In addition to the actual wedding invitation(s), modern wedding invitation suites may include two envelopes (inner and outer) and various insertions, also called enclosures. These enclosures such as an RSVP card, a map, or other guest information can be included with your invitation(s).

Photo: Lane Albers Photography
How Many Envelopes?
The inner envelope is a holdover from the past, dating back to the 1900s. The inner envelope was included because of the method of transporting mail, which was made by horse and carriage. So for this reason, it was customary to use a second envelope for special invitations to guarantee that the invitation would arrive at its destination impeccably clean.
We have kept the inner envelope tradition, but have significantly changed the purpose of it. Modern couples use the inner envelope today to be very specific as to whom they want to invite to their wedding. It's a very elegant way to let your guest know that a plus-one is welcome. In this case, address the outer envelope to your invitee only, and write "Ms. Smith and the name of the guest" on the inner envelope. Write the guest's name if you know it. It's fine to address inner envelopes with familiar names for close family and friends such as "Uncle Sam and Aunt Betty".

Photo: Lane Alberts Photography
Although the inner envelope is a tradition, it's perfectly fine to use only the outer envelope that is addressed using your guests' full name, address and is stamped. Most wedding invitations are still addressed using a formal style. For that reason, on top of having your guests' full name and address, you also want to have detailed information about your guests: Titles (medical professionals, the military), married couples, unmarried couples living together, married couples with different last names, and other special circumstances. This is so you know how to address your guests properly.
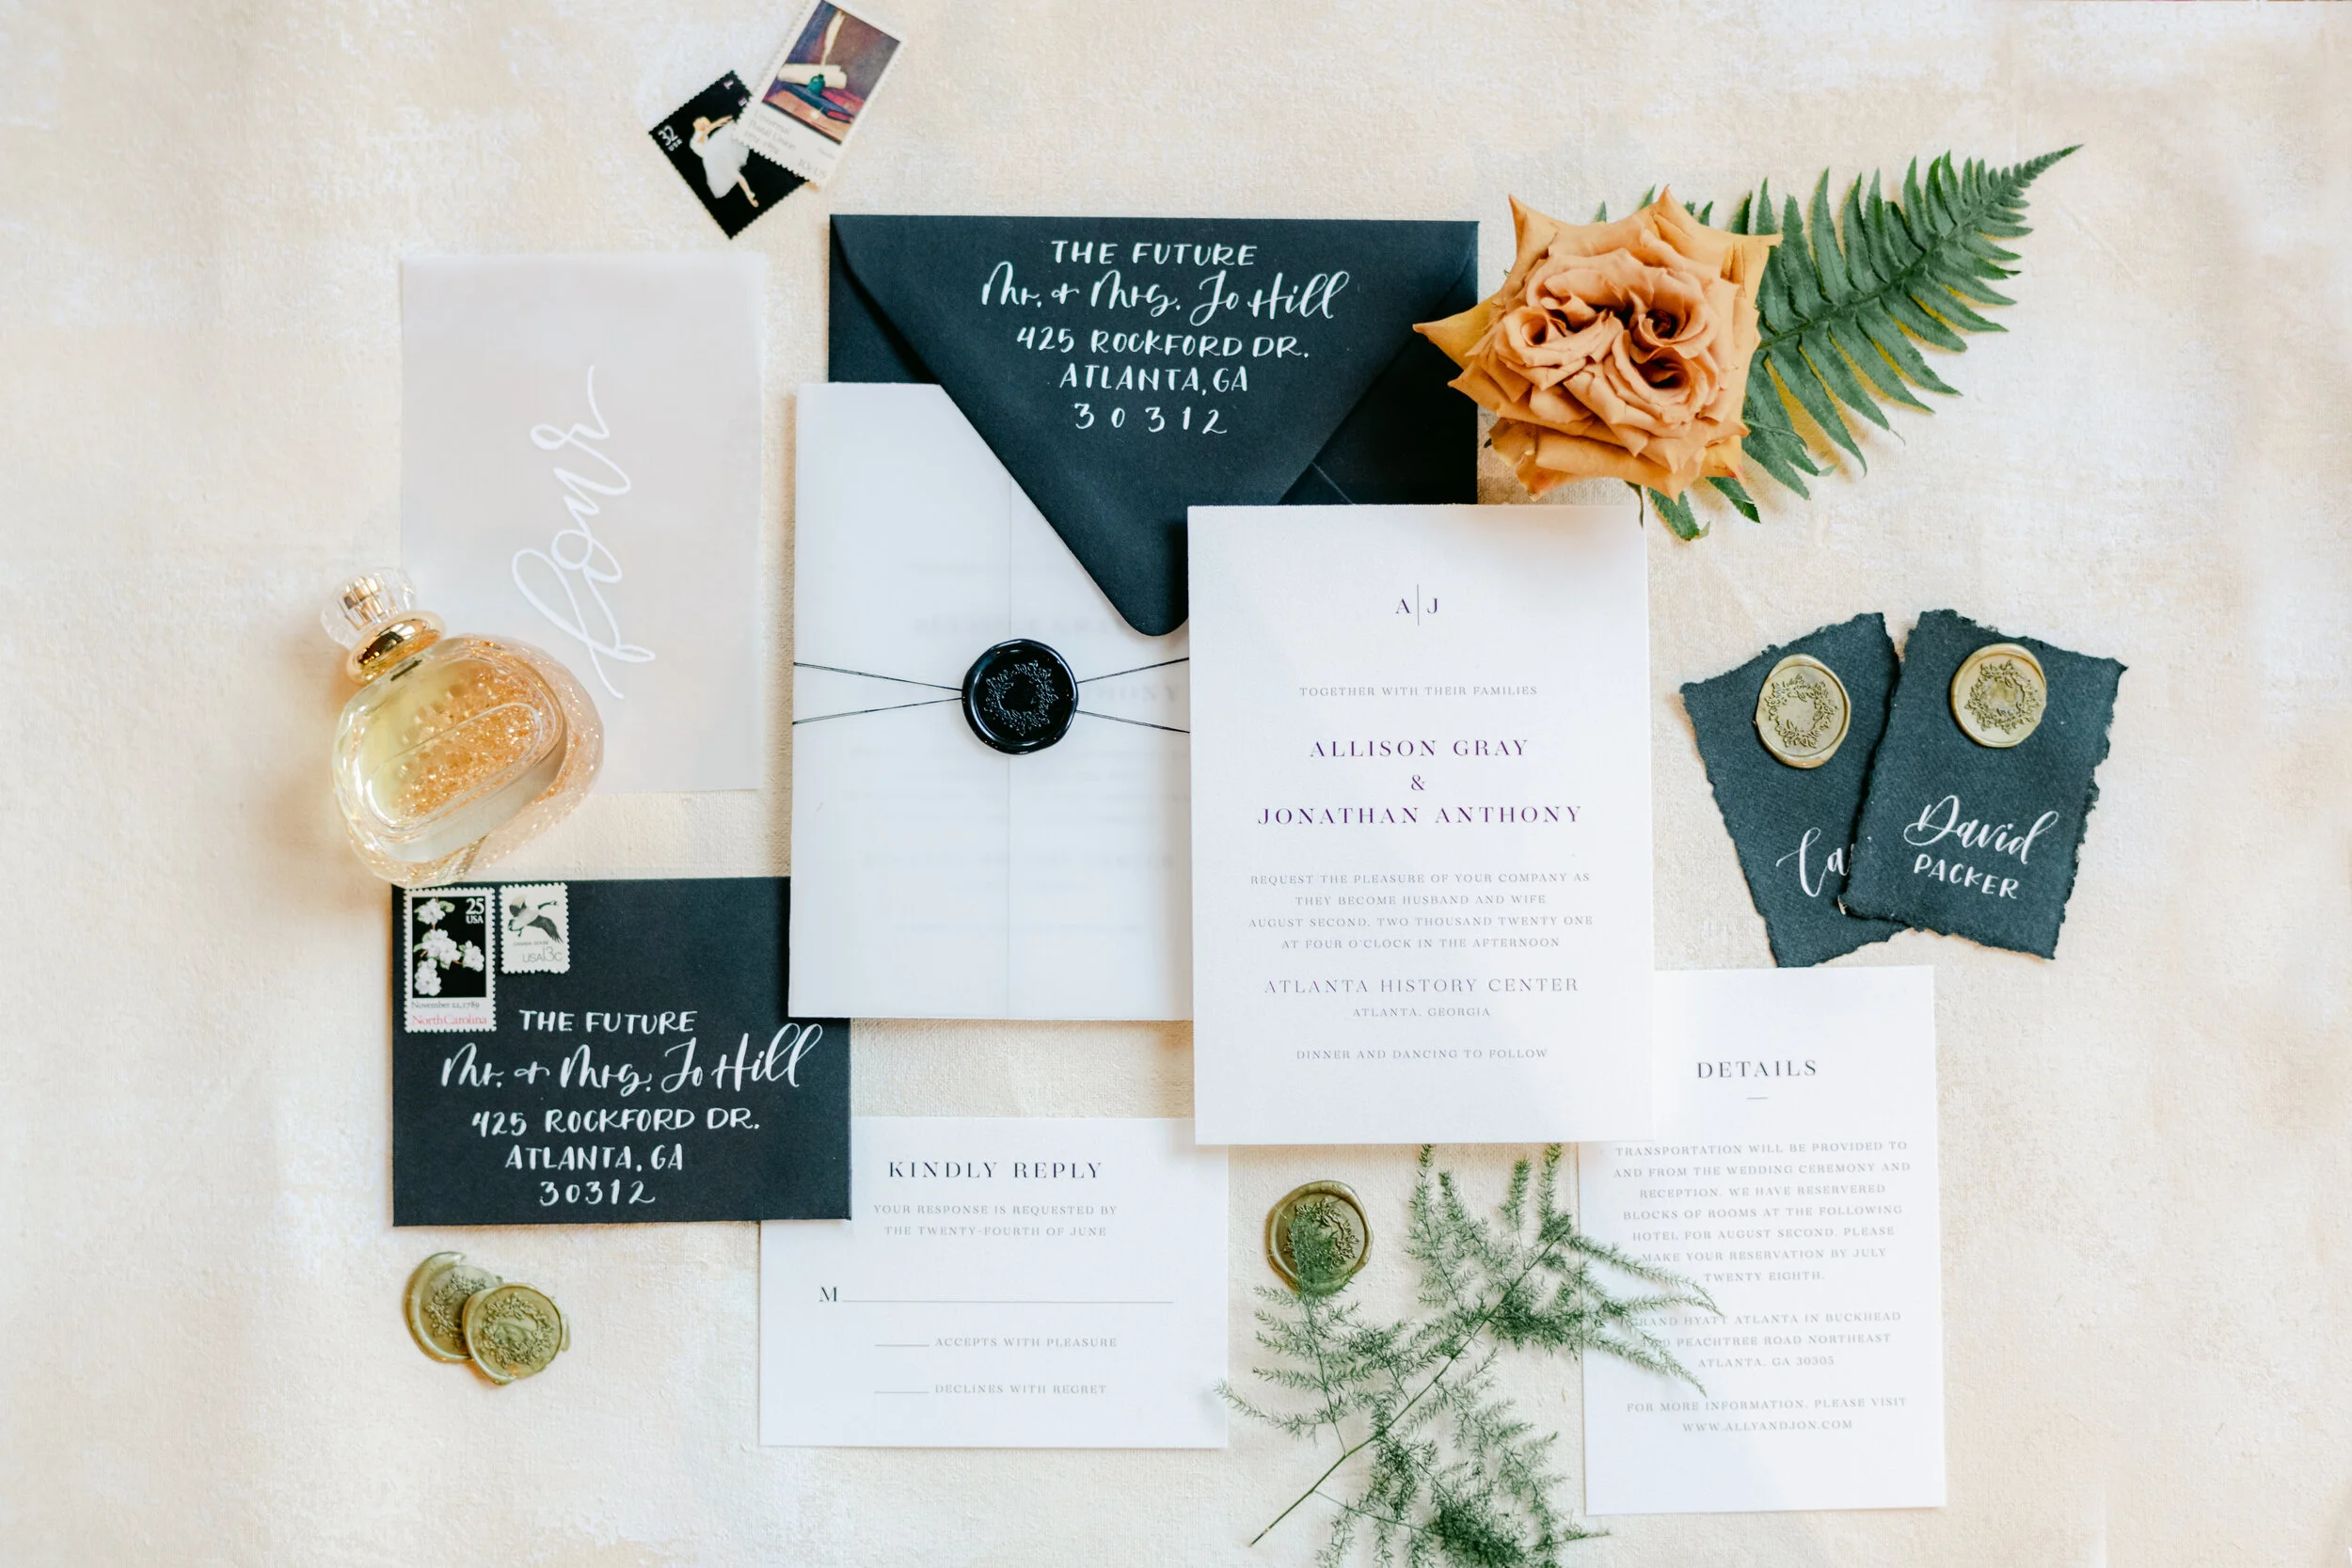
Photo: Lane Albers Photography
Proper Order to Insert a Wedding Invitation and It’s Enclosures into an Envelope
These enclosures are inserted in the envelope in a very specific order. The idea is that when the outer envelope is opened, the guest can read his or her name on the inner envelope, and when the inner envelope is opened the guest can read the invitation or the enclosures stacked on top of it.
Use the steps below to insert each enclosure correctly in the envelope:
If you are using an inner and an outer envelope, start with the inner envelope by inserting the invitation printed side up, if a flat card. In the case of a folded invitation, folded edge first, faceup.
Then slip the RSVP card under the flap of its envelope, faceup and the addressed and stamped side of the RSVP envelope is facedown.
Stack the enclosures faceup, in size order, largest piece on the bottom.
Insert the stack of enclosures, faceup, on top of the invitation and slide the whole package into the inner envelope.
If using tissues, place them between the invitation and the enclosures. Improved printing techniques have made tissues unnecessary, but their use continues as a tradition.
The inner envelope is not sealed, nor is the flap tucked in. Turn it address side up, and place it in the outer envelope so the name of the invitee(s) is visible when the invitation is opened.
If you opted to use the outer envelope only, follow directions through step 5, and insert the invitation and all enclosures faceup, into the outer envelope, and then seal it.

Photo: Tiffany Photography Co.
With all the enclosure cards, invitation(s) and envelopes, your wedding invitation suite will most likely be heavier than a traditional single invitation plus one envelope. A good rule of thumb, it is to weigh your invitation suite to know the right postage before mailing.
Remember that wedding invitations don't need to follow the traditional ways, they may be as original and authentic as you are as a couple. Your guests will love to see your unique expressions reflected on your wedding invitation(s). Surprise them!

Photo: Lane Albers Photography